
A grimy or clogged speaker can prevent you from taking part in tracks, films, or calls for your iPhone. I idea mine changed into broken however constant it after cleaning. However, the iPhone speaker has a tender mesh cover (it looks like a padded mesh). So you need to be cautious at the same time as cleaning this part. But under are how you can ease it.
Click here https://techkorr.com/
1. Get Rid Of Debris Or Lint With Cotton Earbuds
The first issue you need to do is wipe your iPhone speaker with cotton earbuds. It’s easy to smooth the speaker above the screen. To begin, find a dry cotton swab:
- Insert the cotton earbud beginning from one aspect of the speaker.
- Apply light pressure to make sure it would not ruin the screen.
- Next, gently flow the swab to and fro over the mesh.
- You can see a little dirt on the swab.
- With that stated, you may strive for an identical system on the lowest speakers as properly. However, this time round, you need extra precision.
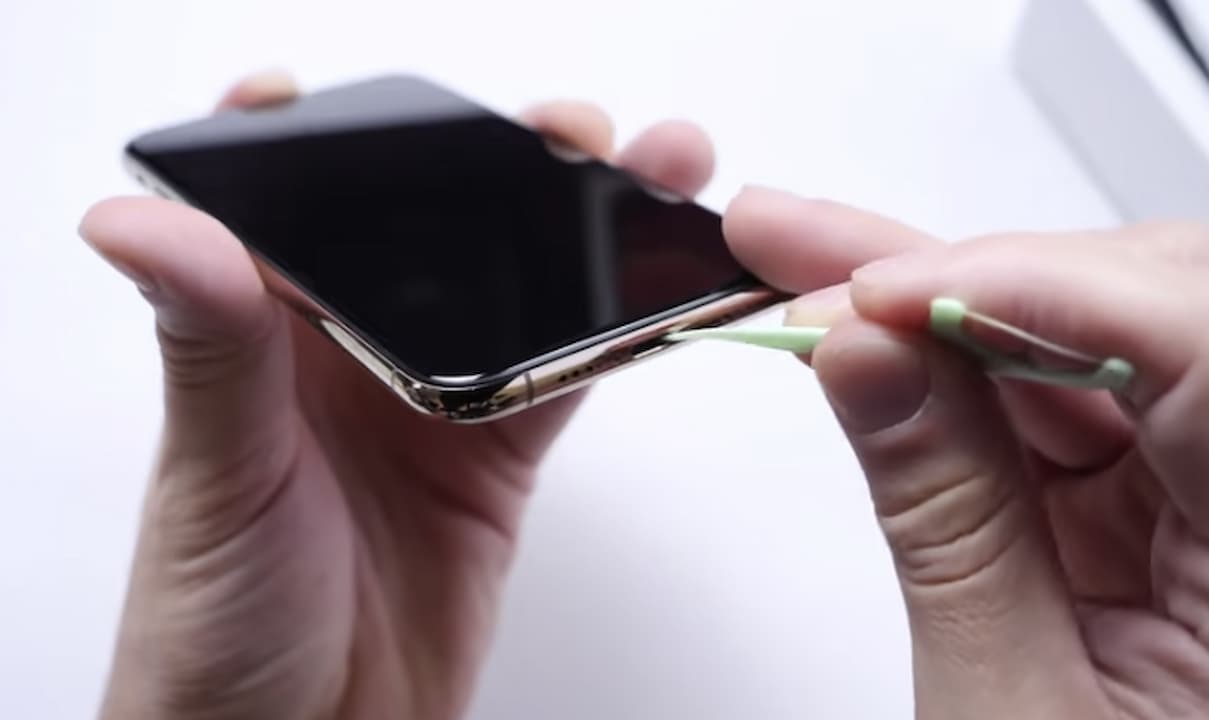
2. Use A Toothpick
Although the toothpick is sharp for cleaning the speaker, it does the task well. I used it when my iPhone’s backside stereo audio system was given blocked. However, be careful no longer to pierce the mesh. So be gentle with it.
Gather more stuff about different topics how to clean an iphone speaker
I advise the use of this approach to smooth the lowest audio system, as they may be thinner than the top ones. That’s why the earbud may not smooth a great deal as it can’t penetrate the stains. To do that, gently point a toothpick at every speaker region. Then roll it up slowly, slowly scraping over every establishment. Then, make certain it would not input the trap.
3. Use A Toothbrush
A toothbrush can accomplish loads while used of it to clean the audio system. This is what I tried after the use of a swab and toothpick on my speaker. The concept is to dust off any remaining debris even as the toothbrush can get out of the speaker as properly. However, make certain you use a smooth toothbrush.
Using a toothbrush is straightforward. Place it at the speakers and lightly scrape backward and forward.
4. Remove Stubborn Dust From Painter’s Tape
Painter’s tape contains tiny bits of adhesive that adhere to dirt and dust and are touchy to pressure. So it can help to cast off the caught dust from the speaker. You can strive to use it after cleaning with other methods.
To use the painter’s tape technique, take a chunk of it and stick it to the speaker (this works for both speakers). Apply moderate strain to the apple after which do away with the tape one at a time to get rid of any caught-on dust or dust. You might also see dirt sticking to the floor of the tape while it’s miles removed. Repeat the method till you sense there’s not any dirt or dirt.
Read Also: 11 Ways to Fix an iPhone Flashlight That Isn’t Working
5. Use Air Duster / Compressed Air
Although Apple warns now not to apply compressed air while cleansing an iPhone, it works in case you recognize your manner around it. Compressed air helps to put off trapped dirt which could have entered the indoors of the speaker even as cleaning. You need to be cautious whilst making use of an air duster or compressed air to the speakers (specifically the pinnacle speaker). First, you might need to choose an aerosol-compressed gas, like the Falcon Dust from Amazon.
Next, observe these steps to ease your speakers using compressed air:
- Make sure the compressed air can rise directly.
- To smooth the pinnacle speaker:
- Hold the compressed air can some centimeters far from the speaker, making sure it points at the mesh hollow and not the display screen.
- Apply some blasts of air to put off the trapped dust.
- To blow the specks of dirt off the bottom speaker, factor the air duster without delay at the hole and follow a few busts. However, make sure to depart a bit of space between the air duster and the mesh.
6. Test Speaker
Once the cleansing is performed, you may now play a song or video to check the speakers. See the difference in audio pleasant before and after cleaning.
Best Practices For Cleaning Iphone Speakers And Microphones
- Unplug your iPhone from the energy cable earlier than beginning the cleansing. You may need to show it off for the duration of the procedure.
- Avoid the use of steel items to scrape the mic port and speaker mesh. This can pierce the mesh and ruin the mic and speaker.
- Do now not use water to ease any part of your iPhone. While a few iPhones are water resistant, a few units can cause harm by using deliberately pouring water.
- Even if you are using non-metallic items to scrape the speaker, be cautious not to pierce the mesh.
- Apple recommends that you avoid using cleaners containing bleach or hydrogen peroxide.
- Do no longer submerge your iPhone in any cleansing fluid.
Now begin cleansing your iPhone speaker and microphone.